|
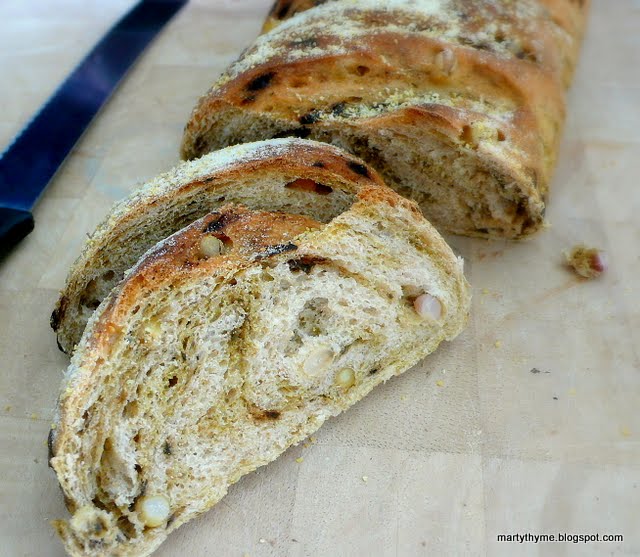
| Jalapeño and corn loaf |
This bread is hot! I don't mean stolen, angry, popular or having a high temperature, although it is fresh and a success. No, I'm talking about the burn-the-skin-off-your-tongue kind of heat that comes from chillies!
My chakras must have been aligned and all that good energy worked its way out of my fingers into the dough when I was kneading it because this bread turned out very well. Only thing is, there are a few too many chillies in it.
Even for my highly-tolerant palate, the heat is a bit much. Ten (yes, 10!) shrivelled jalapeño peppers don't look like much after they're roasted, skinned and chopped, but they can still hurt you. And even if you
can take the heat, it can overwhelm the bread and take over. I gave some to
Veggie Chick, and she breathed fire too.
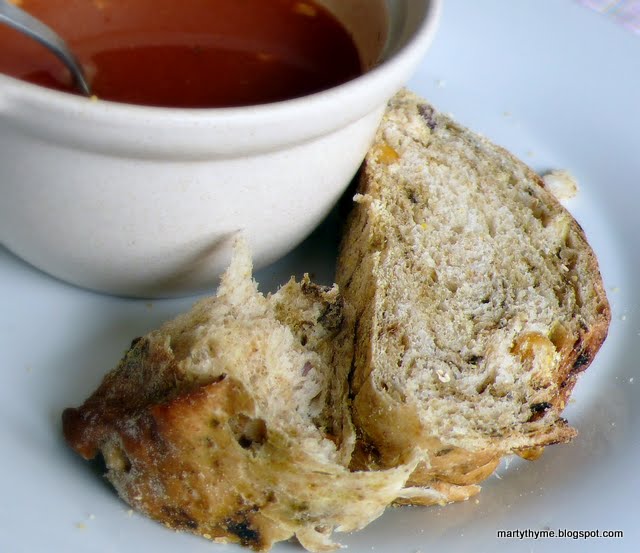
We decided the heat could be tempered with a soup. And I spread
Marmite and cream cheese over a slice and that was perfect. It is just too powerful to eat on its own. If
a coyote with the voice of Johnny Cash starts offering me spiritual guidance, I'll start worrying.
 |
| Green heat and multi-coloured beads |
The corn in the bread's name is in the form of kernels. I used dried multi-coloured corn kernels – in orange, yellow and purple – and cooked them in a slow cooker for a few hours to soften. I thought they would add a brilliant palette to the bread but as you can see, they didn't exactly keep their colour. Using frozen or fresh corn should be just fine and much easier.
I used Daniel Steven's baking advice from
The River Cottage Bread Handbook

and got a lovely crusty top. The crumb was pleasantly soft, although I would have liked it to be slightly more chewy. Experienced bakers will of course have their own techniques to achieve the kind of loaf they like.
I am submitting this to
YeastSpotting.
JALAPEÑO AND CORN LOAF
Makes 1 loaf
2-4 jalapeño peppers (depending on heat), washed and dried
¼ cup dried corn kernels*, soaked overnight
1¼ cups organic bread flour
¾ cup organic whole-wheat flour
1 tablespoon milk powder
½ teaspoon salt
1 tablespoon honey
3 tablespoons butter
½ teaspoon instant yeast
1 cup warm boiled water, approximate
Fine cornmeal
- Turn on the oven grill to high. Cut the peppers in half and remove the seeds. Place them in a baking tray, cut side down and place under the grill. When the skin has blistered and turned black, remove them and place in a bowl; cover the bowl to allow the peppers to sweat. When cool enough to handle, remove skin. Chop up the peppers.
- Place corn kernels in a medium saucepan and cover with water. Bring to the boil, then simmer until kernels are soft. Alternatively, cook in a slow cooker. Set aside to cool.
* Use frozen or fresh kernels if desired. You will need about half a cup.
- In a large mixing bowl, combine both flours, milk powder and salt. Add honey and butter and rub into the dry ingredients. Stir in yeast.
- Pour in almost all the water and bring ingredients together. Add more water if necessary until a soft but moist ball of dough is formed. Leave in the bowl, covered with a tea towel, for about 10 minutes.
- Knead dough on a work surface, using a plastic dough scraper to help shift the dough so that you do not add too much extra flour. If the dough gets too sticky, form into a rough ball and allow to rest for 5-10 minutes, then knead again until dough is springy, about 10 minutes, and passes the windowpane test.
- Now it's time to incorporate the chopped peppers and corn kernels. Stretch the dough out on the work surface; scatter the ingredients over the dough then fold, roll and knead briefly to incorporate them. Form dough into a ball and place in a greased bowl; cover with a tea towel and leave to double in size.
- 45 minutes before baking, turn on the oven to 250°C. Place a heavy baking pan in the bottom of the oven. Deflate the dough and form into a stubby cylinder. Place on a baking tray dusted with cornmeal. Cover with a tea towel and allow to rise.
- Have some freshly boiled water ready. Make three deep diagonal slashes on the top of the dough; brush or squirt with water and sprinkle with cornmeal. Place dough in the oven, pour the hot water into the baking pan in the bottom of the oven to create steam. Shut the door and leave for 10 minutes before turning down the oven to 190°C. Bake for a further 30-35 minutes.
- Remove from oven and cool on a wire rack.
PRINTABLE RECIPE
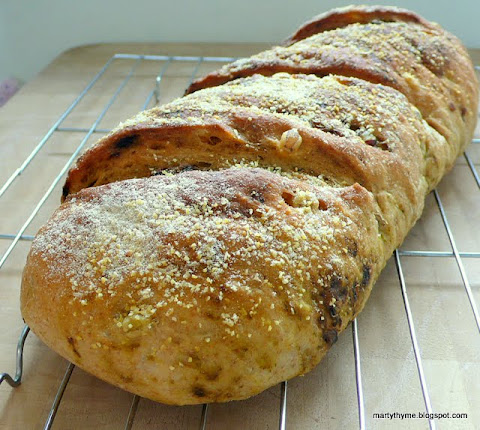 |
| The greenish parts on the crust (in the foreground) are the jalapeños |

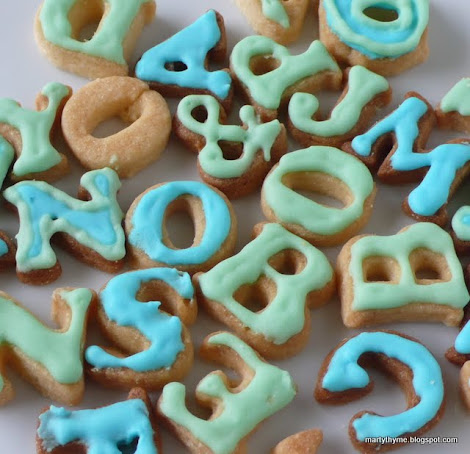


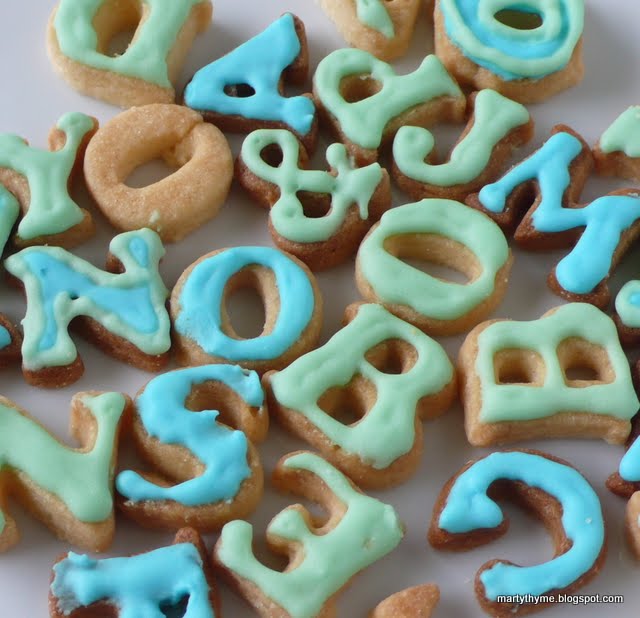
 The date of this post, Sept 27, coincides with the Husband leaving for Oxford University to start his PhD. Since I won't be there with him, I've left him a message (right). The pastels don't make the cookies very manly, but he gets the drift... (Don't you, dear?)