|
| CROSTINI USING SOURDOUGH BREAD AS THE TOAST BASE |
Our
Daring Bakers Host for December 2011 was Jessica of My
Recipe Project and she showed us how fun it is to create
Sour Dough bread in our own kitchens! She provided us with Sour Dough
recipes from Bread Matters by Andrew Whitley as well as delicious
recipes to use our Sour Dough bread in from Tonia George’s Things
on Toast and Canteen’s Great British Food!
Although
I already have a long-tended
leaven, I decided to make a new starter according to Jessica's
instructions. Watching the development of that simple mixture of
flour and water over the four days was fascinating. Air-borne yeast
rocks!
My
bread, however, didn't rock as much as I would have liked. I made the
French Country Bread three times. Here's what happened:
 |
| THE FIRST: Open crumb and lovely taste, but quite flat |
Bread #1
Recipe followed, except in using stone-ground wholewheat flour. Used normal wholewheat flour, and spelt flour in the final refreshing.
Pros
1. Open crumb
2. Crusty
3. Good level sour flavour
3. Good level sour flavour
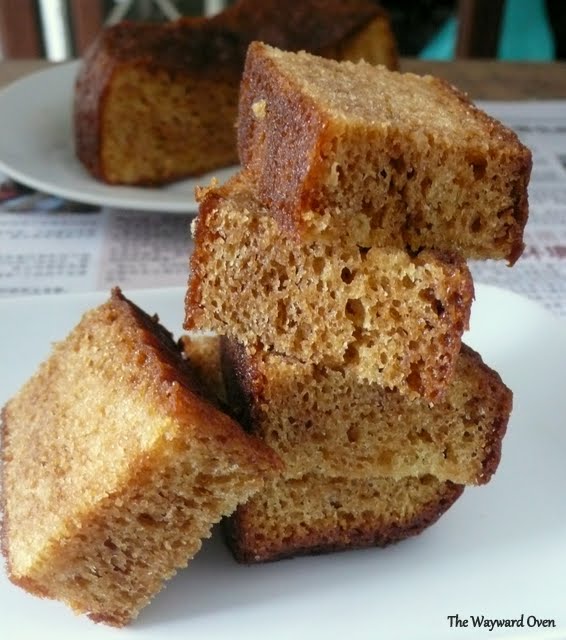
4. Good for crostini base (top picture; from left: tomato and grilled pepper on sour cream; cream cheese with lemon pepper and olive oil; chilli and smoked goat's cheese; chicken liver; and plain toast)
Cons
FLAT! The wet dough did not keep its shape and spread out, but... (see 4 above)
 |
| THE SECOND: A firmer dough that kept its shape, but had a tight crumb |
Bread #2
Added quite a bit of extra bread flour before the final rising.
Pros
1. Rose beautifully in the proofing basket and kept its shape when it came out.
2. Good crust.
3. Tender crumb, but... (see 1 below)
4. Flavourful, but... (see 2 below)
Cons
1. Closed crumb, like a sandwich loaf.
2. A milder taste than Bread #1.
Bread #3
 |
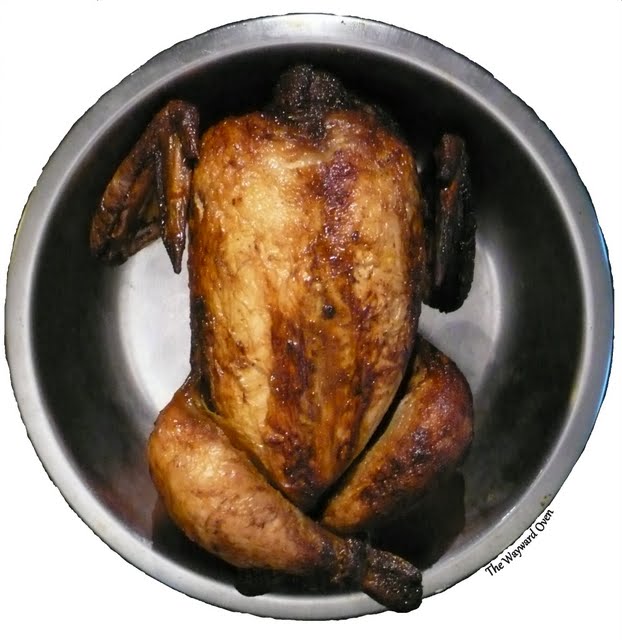
| THE THIRD: Horrors! |
Just looking at the picture, you know there's no need for a pros and cons list.
Third time's the charm, I thought, but the result ended up causing harm... to my ego! I knew as soon as I took the disc out of the oven that I would have to throw it out. It was so heavy! I thought my wrist would come off when I tried cutting into it, and inside, it was just a dense block of rubber. Not even fit for the birds! The one bright spot was a crust that was beautifully golden and smelled awfully good.
Final comment
I'm glad I made the leaven, because it tastes different from the one I already have, so I have two to choose from. This one, I'm keeping on the kitchen counter instead of in the fridge. I've already used it for other bread recipes and it has worked well.
These are some of my more successful Daring Baker's challenges:
Meringue-filled Coffee Cake (March 2011)
Meringue-filled Coffee Cake (March 2011)