The Oven has baked its last loaf. This blog is no longer being updated.

My cooking videos appear at youtube.com/janeragavan

I write on food at star2.com

1:2:3 sourdough

Wednesday, July 17, 2013

A RATIO TO REMEMBER: 1:2:3 SOURDOUGH
The 1:2:3 Sourdough formula has been around for a while and it's one that's worked very well with the breads I've made – as long as I don't confuse the components. The ratio refers to the dough mix: 1 part starter to 2 parts liquid to 3 parts flour by weight (plus about 2% salt). 
This means that if I start off with 100g of refreshed starter, I just add 200g of water, 300g of flour (sometimes just white; other times a mixture) and 6g of salt. The percentage of water is only 66%, which makes the bread far from wet and very easy to knead completely by hand. I often use the stretch-and-fold method, but sometimes it's good to get back to basics and go through the full-on "traditional" hand-kneading process.
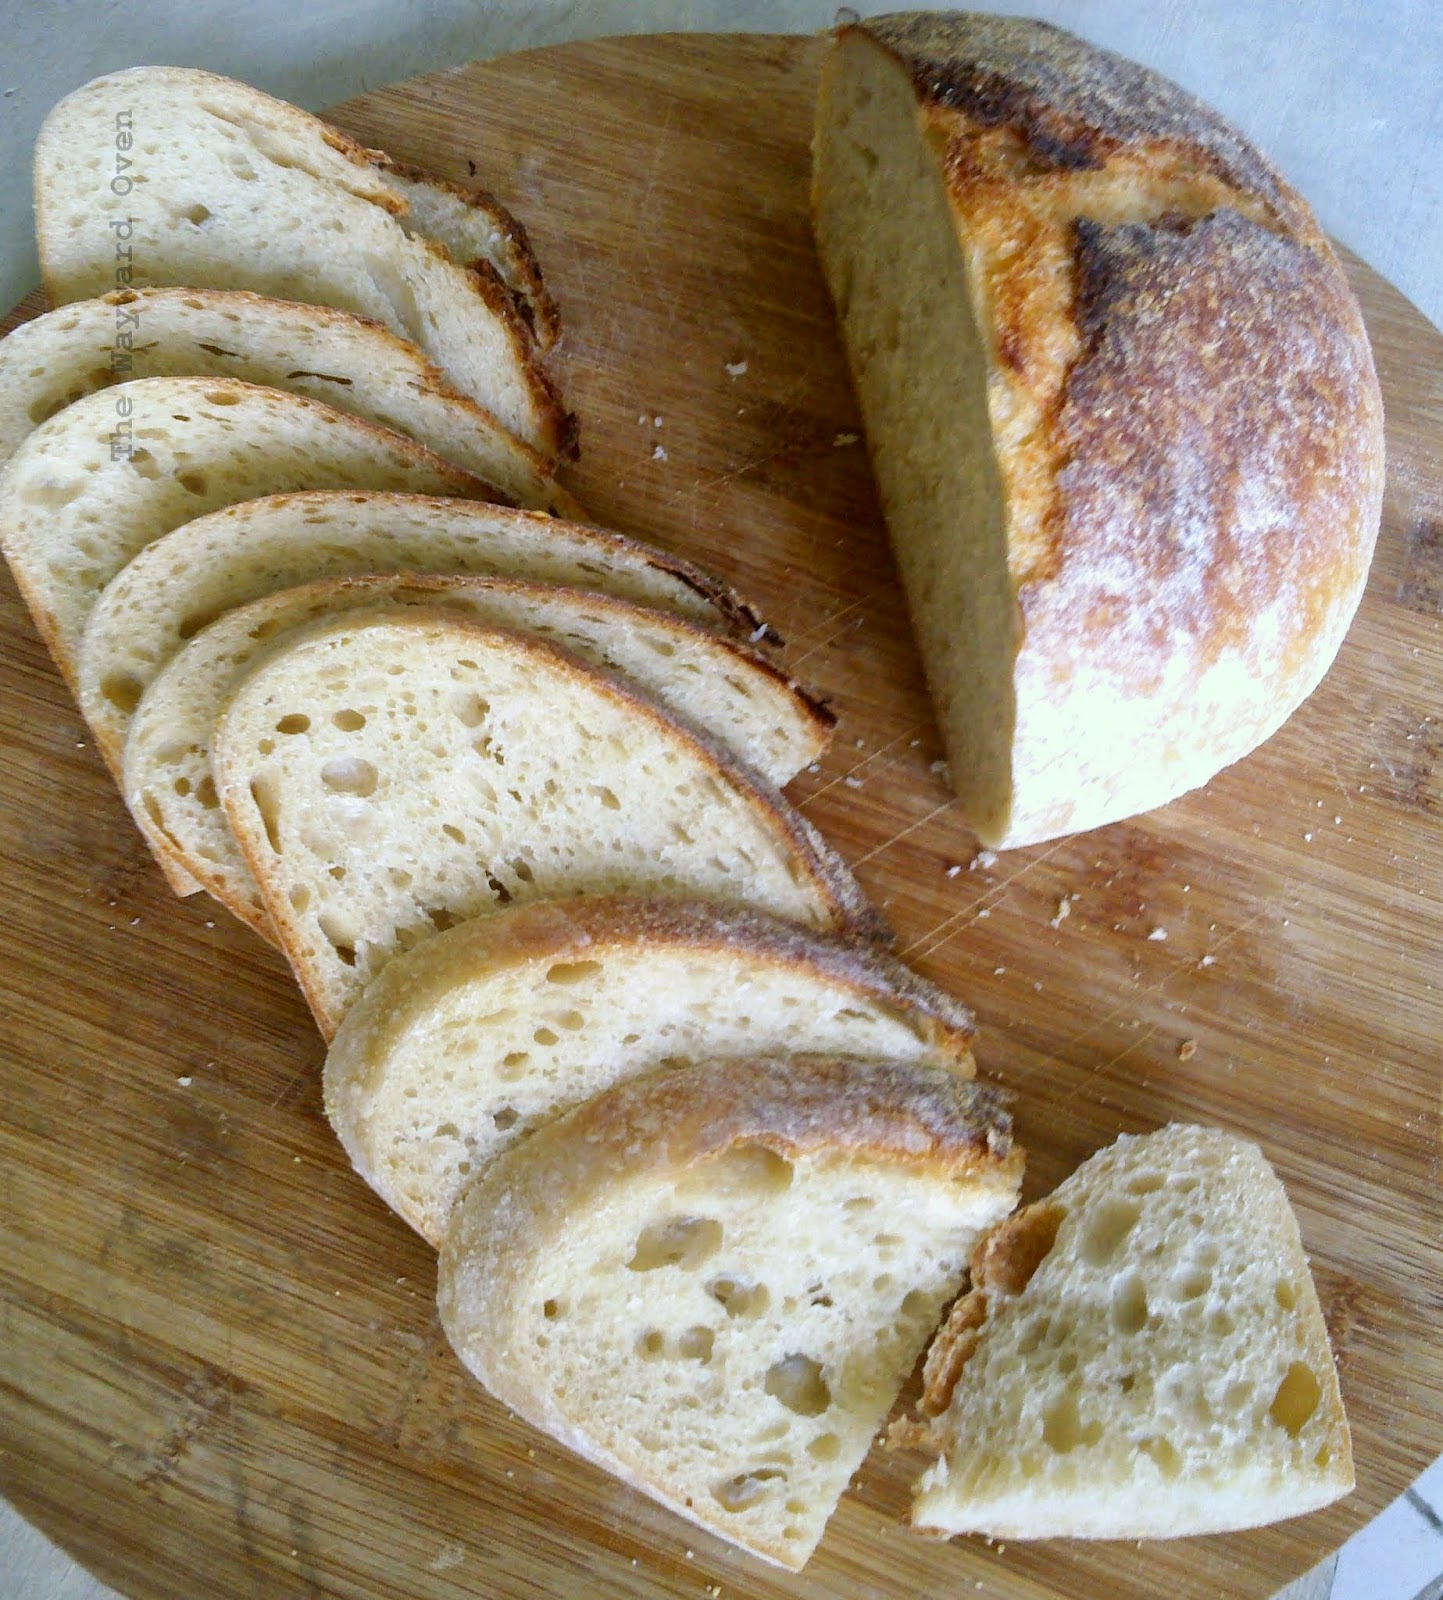
Airy and creamy crumb
The bread is well-aerated, even though the dough isn't that highly hydrated, with a creamy crumb and good chewy crust. I have baked it freestanding on an upturned preheated baking tray with steam from ice cubes, and also in a Dutch oven.
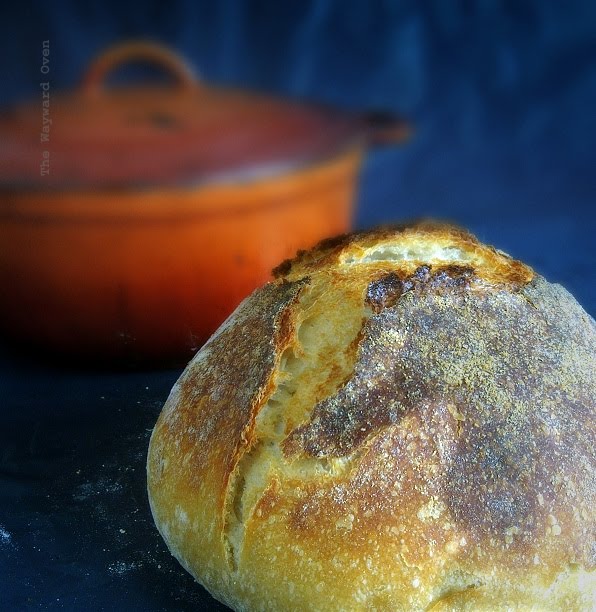
With the Dutch oven, I use a method I learnt from Ken Forkish's book Flour Water Salt Yeast. He lets the loaf proof seam side down in the bread proofing basket and then flips it into the preheated pot so the seam is on the top. As the bread bakes, the crust cracks open naturally. Almost all the breads I've baked this way have come out with a three-point crack. And as the bread cools right out of the oven, there's always a loud crackling! 
The loaf is baked seam side up in a Dutch oven and cracks naturally
I often just tear off a hunk of bread and eat it on its own because it tastes good, but I have also used the same 1:2:3 formula and added fried onion to the dough. Another time, I made a grated potato and spring onion version, so the dough is quite versatile that way. The crumb on those "flavoured" breads was slightly tighter, but the loaves were still springy and delicious.

Hot under the cola

Sunday, July 7, 2013

FROSTED CHOCOLATE COLA CAKE WITH MARSHMALLOWS 
There was this British monthly cooking magazine, aptly and simply called Cookbook, which I used to buy. It was only about 70-pages long, but every page was filled with recipes that I found easy to do since I wasn't much of a cook then. The first magazine I got was the November 1999 issue, and for the next year and a bit, I waited to get it every month. It cost £1.50 which doesn't seem a lot, but the Husband and I were living on his scholarship money (and a small sum of my savings) in London at the time and it was the only thing I spent our little money on after we took care of the rent and basic necessities.
Cookbook came in handy when I did a small three-day catering job for a friend of ours who was making a student film, and my whole menu came from the magazines. I didn't get paid for my time or labour but it was a good experience and I am credited as the caterer on the film!
Publication of the magazine stopped many years ago. I can't even find anything about it online now.
The recipe in Cookbook magazine, with my scribbles in red
I brought all the magazines back to Malaysia and they are now bound into two hefty volumes. I still look through them occasionally for ideas and recipes and have used an egg-free chocolate cake recipe from it (a reader's contribution) countless times. I have even adapted it – using orange juice instead of milk, ground ginger instead of  cocoa, omitting the cocoa powder altogether for a vanilla cake, and I have even made it into a Poppy Seed Crazy Cake.
For yet another adaptation, I wanted to use the recipe for a cola cake. The original recipe contains golden syrup, which I would substitute with a cola reduction. So I boiled down a tin of cola but it didn't turn syrupy enough, so I tried it again but this time added sugar to it before reducing it. It worked – it looked like treacle and the cola flavour was really strong. (Was that ginger I detected in the secret formula? I won't mention the brand but it's probably the most well-known one in the world!)
Unfortunately, the flavour wasn't distinctive in the cake. I'm still recording the recipe here because it makes a cake with a good taste and texture. It was a little sticky from the marshmallows but was chewy  as well though I haven't figured out why. It went down well with the family so I consider it a success, cola-less notwithstanding.
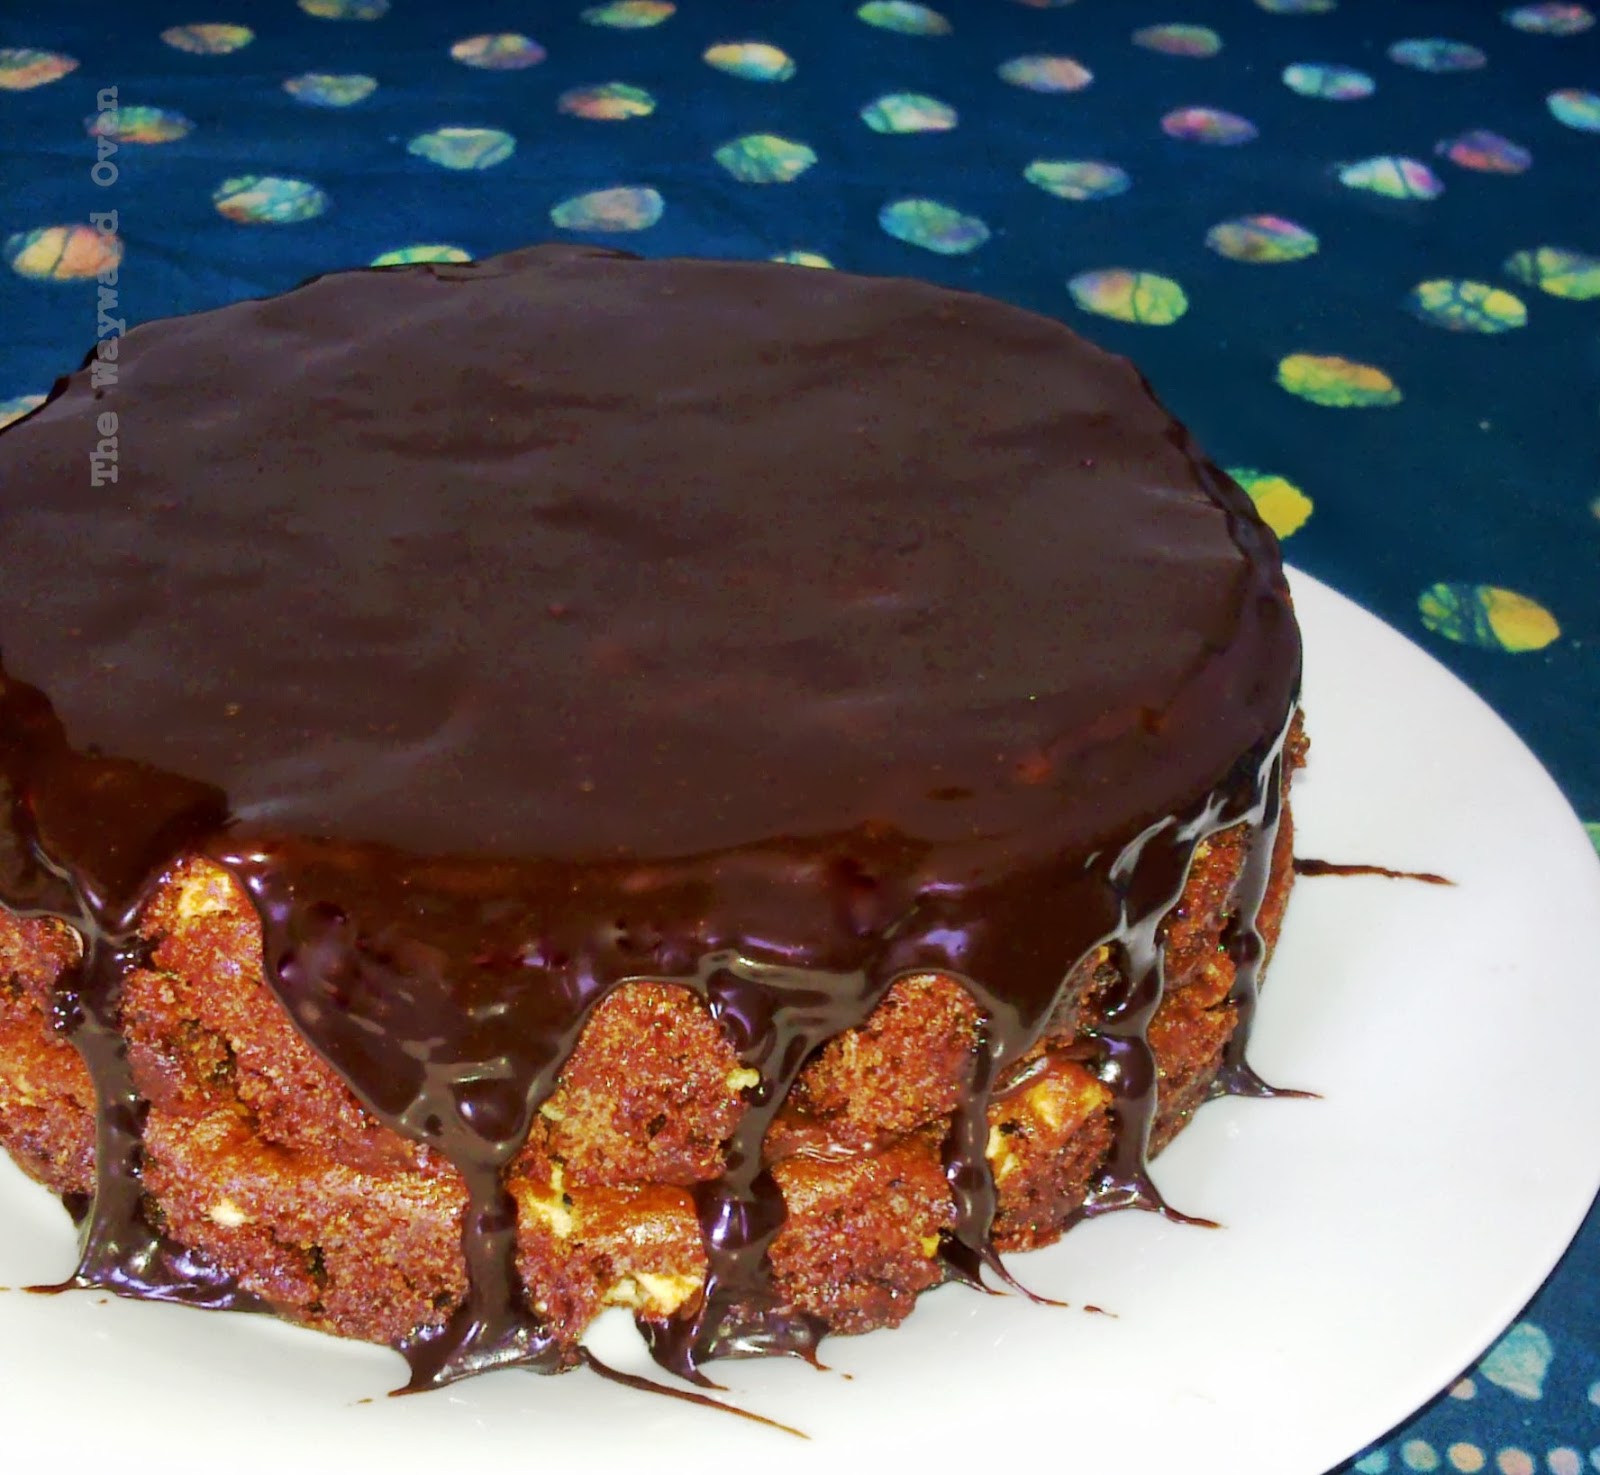
The pointy frosting 'decorations' on the plate were a happy accident*
Frosted Egg-free Chocolate (Cola) Cake
Makes an 18cm sandwich cake

Cola syrup

1 (325ml) can cola
3 tbsp firmly packed brown sugar

Sponge
275g all-purpose flour
1½ tsp baking powder
½ tsp salt
3 tbsp quality cocoa powder
175g caster sugar
60g egg-free mini marshmallows
1 tsp bicarbonate of soda (baking soda)
175ml buttermilk
150ml vegetable oil
3 tbsp cola syrup (or use golden syrup)
Frosting
Chocolate ganache, pourable

To make the cola syrup, place cola and brown sugar in a small saucepan. Bring to a gentle simmer over medium heat. Leave to bubble but swirl the pan around occasionally until mixture reduces to about 5 tbsp (about 100ml). Pour into a small container to cool. It will still be runny but will thicken a bit more upon standing.
Preheat oven to 180°C. Grease and base line two 18cm sandwich tins.
Sift the all-purpose flour, baking powder, salt and cocoa powder together in a mixing bowl. Stir in the sugar and marshmallows, if using.
Dissolve bicarbonate of soda in 1 tbsp of buttermilk. Add the remaining buttermilk, oil and cola syrup to the dry ingredients and stir until smooth. Stir in the buttermilk-soda mixture. The batter will have a soft dropping consistency.
Divide the batter evenly between the tins and level the tops. Bake for 25-30 minutes until the centre is springy to the touch and the cakes are cooked. Cool in tins on a wire rack for 5 minutes (the cakes will shrink slightly), then turn out to cool completely. Remove the lining paper, wrap the two cakes in cling film and chill overnight. The flavour seems to develop after overnight storage.
Place one sponge on a serving plate. Put strips of greaseproof paper under the cake along the sides to catch the drips. Spread with some of the frosting. Place the other cake on top and spread with more frosting; chill to set. Pour on the ganache, allowing it to drip down the sides. Leave to set, then pull out the greaseproof paper strips. *The ganache drips may accidentally leave pretty streaks on the plate.

Chewy Korean sweet pancakes

Wednesday, July 3, 2013

HOTTEOK: SWEET GLUTINOUS RICE PANCAKES 
I've only just learned about the Korean sweet glutinous rice filled pancakes called hotteok. It was after reading a description by the Los Angeles Times restaurant critic Jonathan Gold. This is what he says:
“If you are fond of litigation, you should probably turn the page. Because of all the hazards inherent in Korean gastronomy – stray coals, red-hot stones and exploding clams among them – there may be no foodstuff quite so dangerous as the chewy, sizzling street-food staple called hotteok... You will burn your fingers on the pancake, that’s a given; blister your lips; possibly scorch your tongue. But if you’ve never experienced hotteok, nothing can possibly prepare you for the flood of molten brown sugar from its heart, a delicious, cinnamon-scented goo that shares rather too many characteristics with napalm. Am I imagining things, or is that pure evil behind that griddle?”
Oh well now. Burn your fingers? Blister your lips? Scorch your tongue? A flood of molten brown sugar? It all sounded quite intriguing. Since I couldn't get them as street food here in Malaysia, how could I not search for a way to make them at home?
They didn't seem difficult to make and the ingredients were easily available. I wasn't keen on deep-frying them as some recipes suggested, but I saw that the pancakes could also be pan-fried in just a smidgeon of oil and still be crisp enough on the outside.
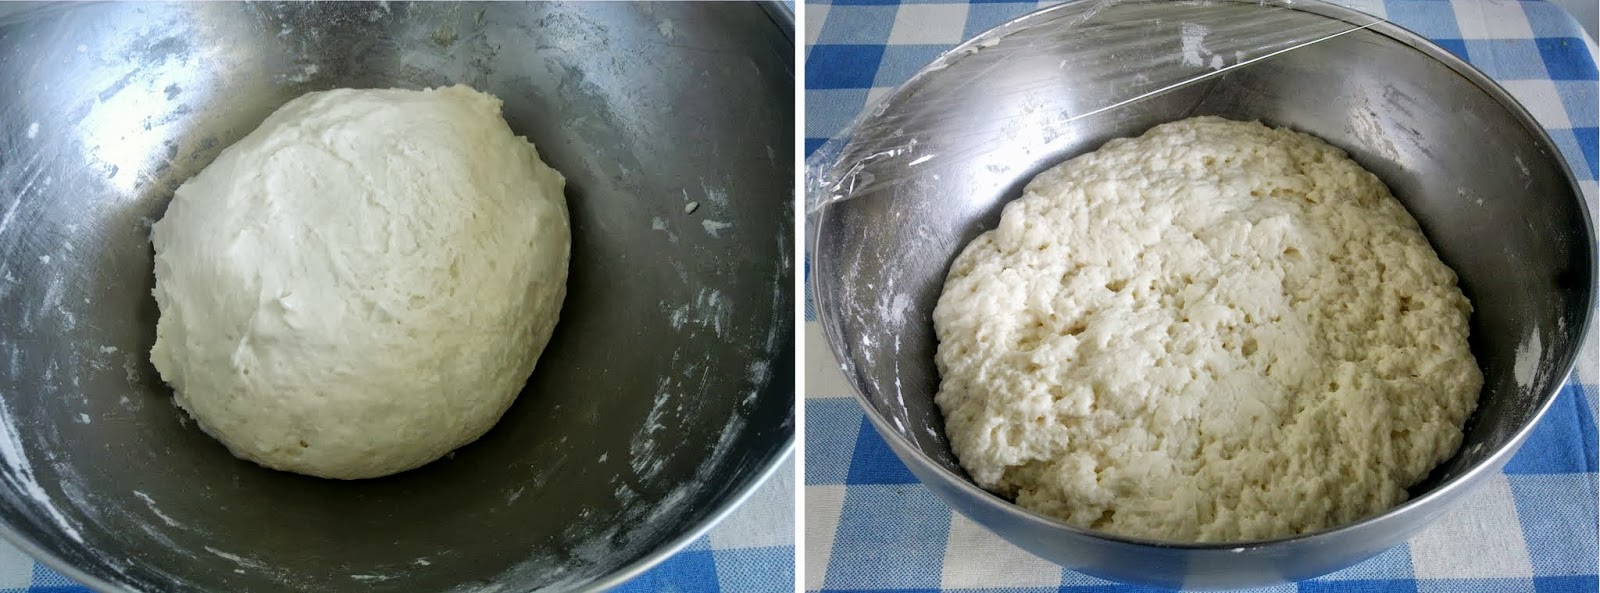
The dough is smooth when made and becomes 'lumpy' after proofing
So based on two recipes especially, I set about making my own hotteok. First, the dough. It was soft and pliable and yet would break apart easily when I pulled too hard. It certainly wasn't like yeasted bread dough. And when it rose, which wasn't much, it looked spongy and lumpy. More intrigue here.
Filling and frying the hotteok
The filling is like a cinnamon roll filling, with crushed nuts in it. Walnuts are especially used in Korea, but peanuts are apparently also popular. I also had some sesame seed paste, and used that in a couple of hotteok as well.
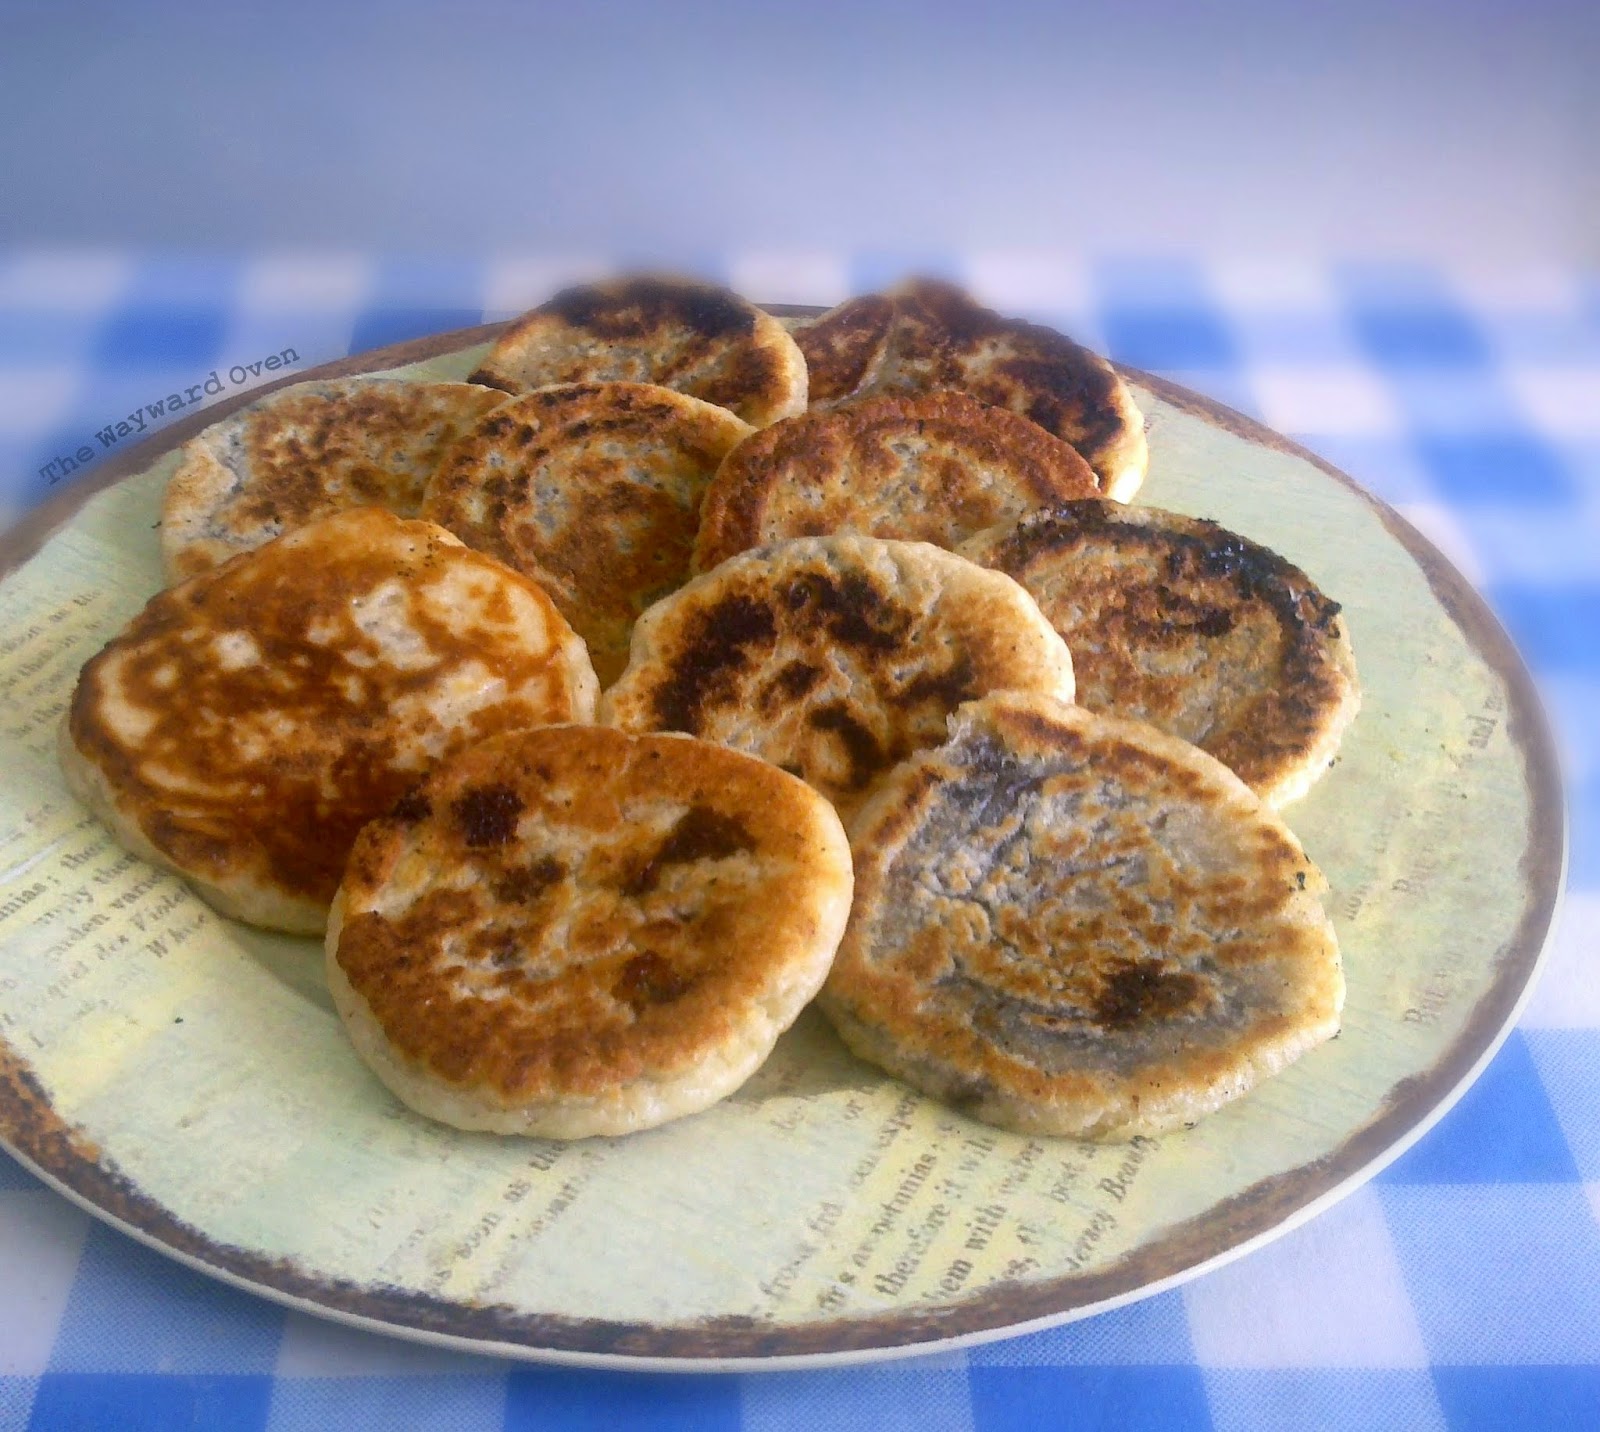
The picture below doesn't show how gooey the filling really was when I cut into a hotteok, but believe me, it was oozing out. The pancake was chewy and crisp, although the crispness didn't last long. It probably would have if it had been deep-fried.
But I really enjoyed it and can just imagine authentic hotteok being so much better.
The sugar filling turns gooey after cooking
Sweet Glutinous Rice Pancakes (Hotteok)
Makes 8 (about 10cm wide). Based on zenkimchi and beyondkimchi

150g all-purpose flour
120g glutinous rice flour
½ tsp salt
1 tbsp sugar
3 tbsp milk powder
1 tsp instant yeast
180-200ml water
1 tsp vegetable oil, plus extra for frying

Filling
½ cup palm sugar
3 tbsp crushed roasted peanuts
1 tsp ground cinnamon
Pinch of salt (omit if using salted peanuts)

Combine all the dough ingredients in a bowl and stir together with a rubber spatula into a sticky dough. It should come together into a smooth ball. Cover the bowl and set aside until the dough doubles in size. The bowl can also be placed inside a plastic bag and refrigerated until ready to use.
Combine the filling ingredients in a small bowl.
When ready to make the hotteok, knead the dough briefly and divide into eight even portions. Form into balls.
Oil the small area on the work surface and place one ball of dough on it. With oiled fingertips, make an indentation in the centre so the sides are a little higher. Place one tablespoon of filling in the centre and pinch the edges together to enclose the filling. Repeat with the remaining pieces of dough.
Heat up a large frying pan and add enough oil to thinly cover the base. Add the filled balls to the pan in batches. Oil the bottom of a smooth-based bowl, ladle or a rubber spatula and use to press the balls to flatten them. When the bottom is browned and crisp, flip to cook the other side. Remove to a kitchen paper-lined plate. Eat while still warm, but mind the melted sugar filling.