The Oven has baked its last loaf. This blog is no longer being updated.

My cooking videos appear at youtube.com/janeragavan

I write on food at star2.com

And one for the road (trip)

Wednesday, October 31, 2012

ROCKY ROAD: APTLY NAMED SNACK FOR HIGHWAY TRAVEL 

A moving vehicle is no place for squidgy food and as much as a sandwich with an oozy slaw or freshly reconstituted soupy cup noodles will hit the spot on a long car journey, they are just a recipe for disaster. This kind of food should be restricted to rest areas and picnic tables.
Biscuits (or cookies) are made for travel. After all, in their earliest form, they were hard square crackers made only with water and flour. They were convenient food for soldiers, explorers and pioneers due to their long storage life, and were perfect for those long journeys over land and sea.
However, like saucy food, it's better to keep to chewy – perhaps even cakey – cookies instead of crumbly ones for the car.
In terms of aptly named snacks for a car trip, a perfect one would be Rocky Road (in real life, of course, we can do without the bumps!). Rocky Road started out as a milk chocolate bar with marshmallow and cashew nuts. Later, a chocolate ice cream with walnuts and marshmallows used the same name, and then, a baker translated the concoction into a brownie, with a gooey topping of marshmallow, nuts and chocolate chips.
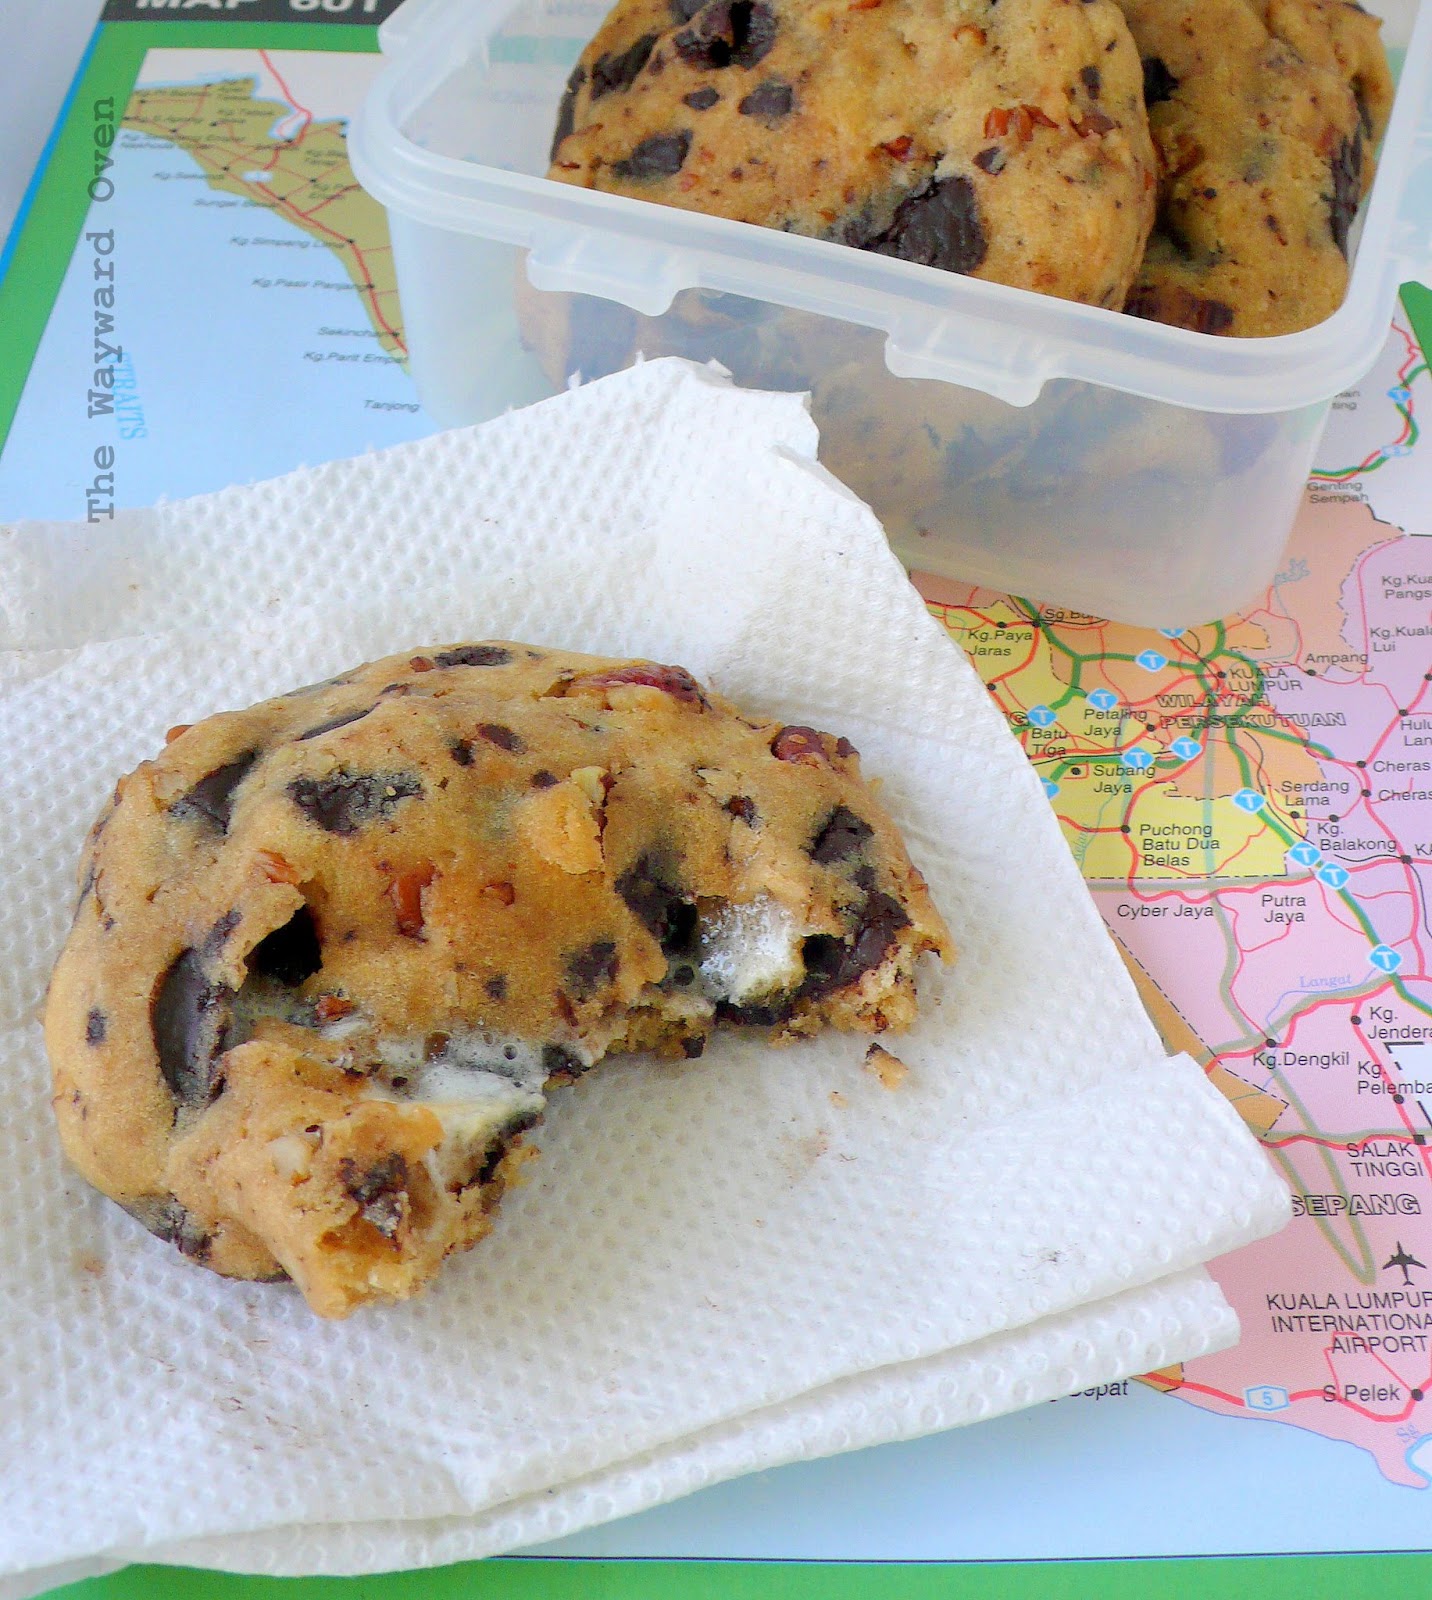
Rocky Road has all the components that I like but sticky marshmallow is not car-ride-friendly. So I swapped the brownie base for a chewy cookie dough and wrapped it around a marshmallow so the gooey bit would be in the centre. I added some coffee to bring out the flavour of the chocolate rather than to help with alertness.
Car ride cookies
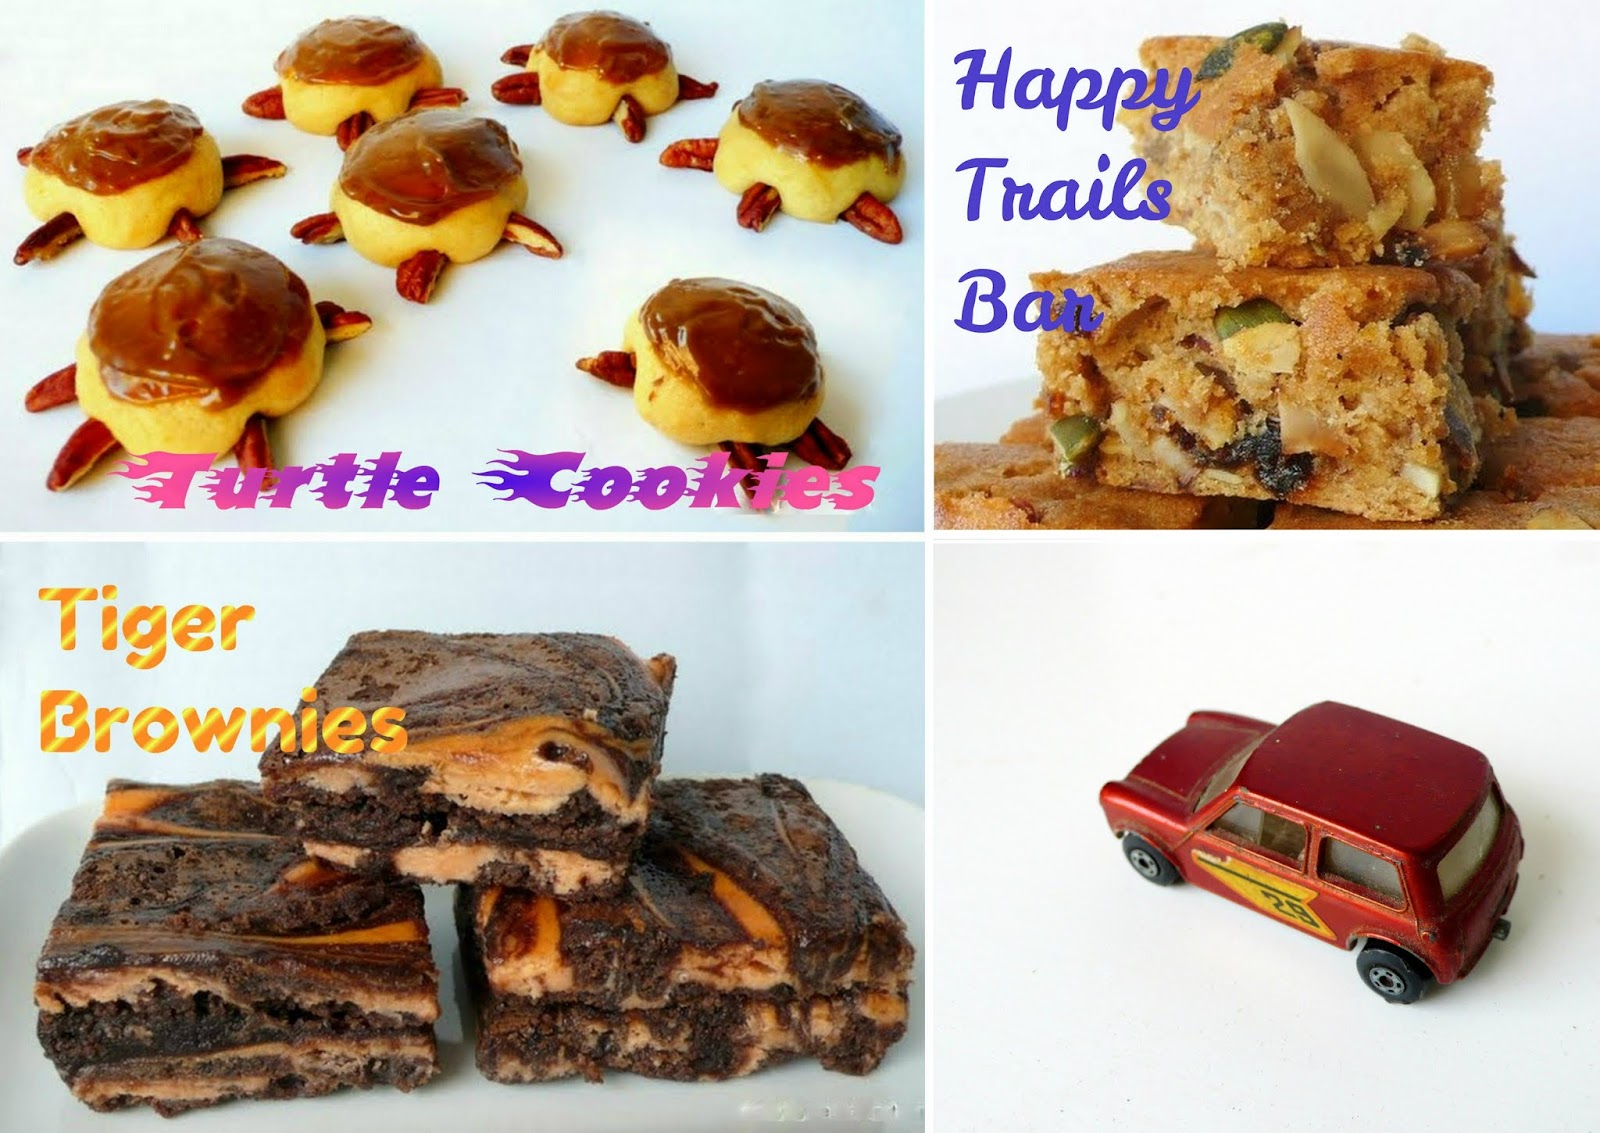
I've posted on other road-themed snacks before. One of them was the Happy Trails Bar, which is made with trail mix (dried fruit, grains, nuts). It's kind of on the healthy side – which defeats the purpose of a road trip snack!
Another suggestion was Tiger Brownies, which I based on the old slogan of a petrol company, "Put a tiger in your tank". These are good ol' fudgy chocolate brownies with swirls of orange-coloured and flavoured cream cheese. They're best eaten chilled so they’re probably not ideal for a long car ride.
Finally, a snack with an entertaining and unusual shape whose name fits the road trip theme – at least for someone in no hurry to get anywhere: Turtle Cookies!
Note on the recipe:
I am normally fastidious with keeping ingredient quantities to either weight or volume, but in this instance, there is a mix of both measurements – I feel butter and flour need to be weighed exactly, while there's room to play around with the quantity of chocolate chunks and pecans. It works for me ;-)
Rocky Road Chunky Chews
Makes 12 large cookies

100g butter (a little less than ½ cup), softened
½ cup firmly packed soft brown sugar
1 egg, beaten
1 tsp vanilla extract
½ tbsp instant coffee granules
½ tbsp hot water
155g (about 1¼ cup) plain flour
½ tsp bicarbonate of soda
½ tsp sea salt or ¼ tsp table salt
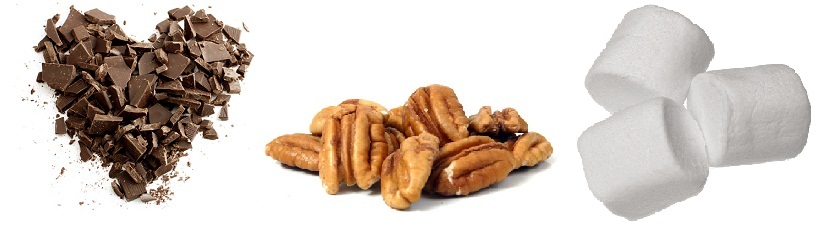
¾ cup coarsely chopped semi-sweet chocolate
¾ cup coarsely chopped pecans
6 regular-sized marshmallows, cut in half

Cream butter and sugar together. Beat in egg and vanilla extract. Dissolve coffee granules in hot water and add to the mixture.
Combine flour, bicarbonate of soda and salt; fold into butter mixture. Stir in chocolate chunks and nuts. Place the dough in the fridge for 15 minutes to firm up.
Divide the dough into 12 equal portions. Flatten one piece and place a marshmallow half in the centre. Fold the dough around the marshmallow to enclose it and form a thick disc. Repeat with the remaining dough and marshmallows.
Space cookies 5cm apart on ungreased baking sheets and refrigerate for 30 minutes.
Preheat oven at 180°C. After the chilling time, bake the cookies until golden brown, 13-15 minutes.
Leave the cookies to cool on the sheets for 2 minutes, then transfer them to a wire rack to cool completely. Store tightly covered. Eat within a week.

Daring Bakers: Mille Feuille/Napoleon

Saturday, October 27, 2012

NO NEED TO SPELL IT OUT: MAGNIFICENT MILLE FEUILLE 
Our October 2012 Daring Bakers’ challenge was hosted by Suz of Serenely Full. Suz challenged us to not only tackle buttery and flaky puff pastry, but then take it a step further and create a sinfully delicious Mille Feuille dessert with it!
(I have to say I didn't feel any guilt creating – or eating – this dessert!)
Suz provided an excellent recipe and step-by-step instructions for the mille feuille, from the pastry to the filling and assembly. I followed the recipe for the puff pastry exactly and didn't have any problems.
To make a small mille feuille, I only needed half of the pastry and used the other half for some old-school cream horns which took me back to my childhood.
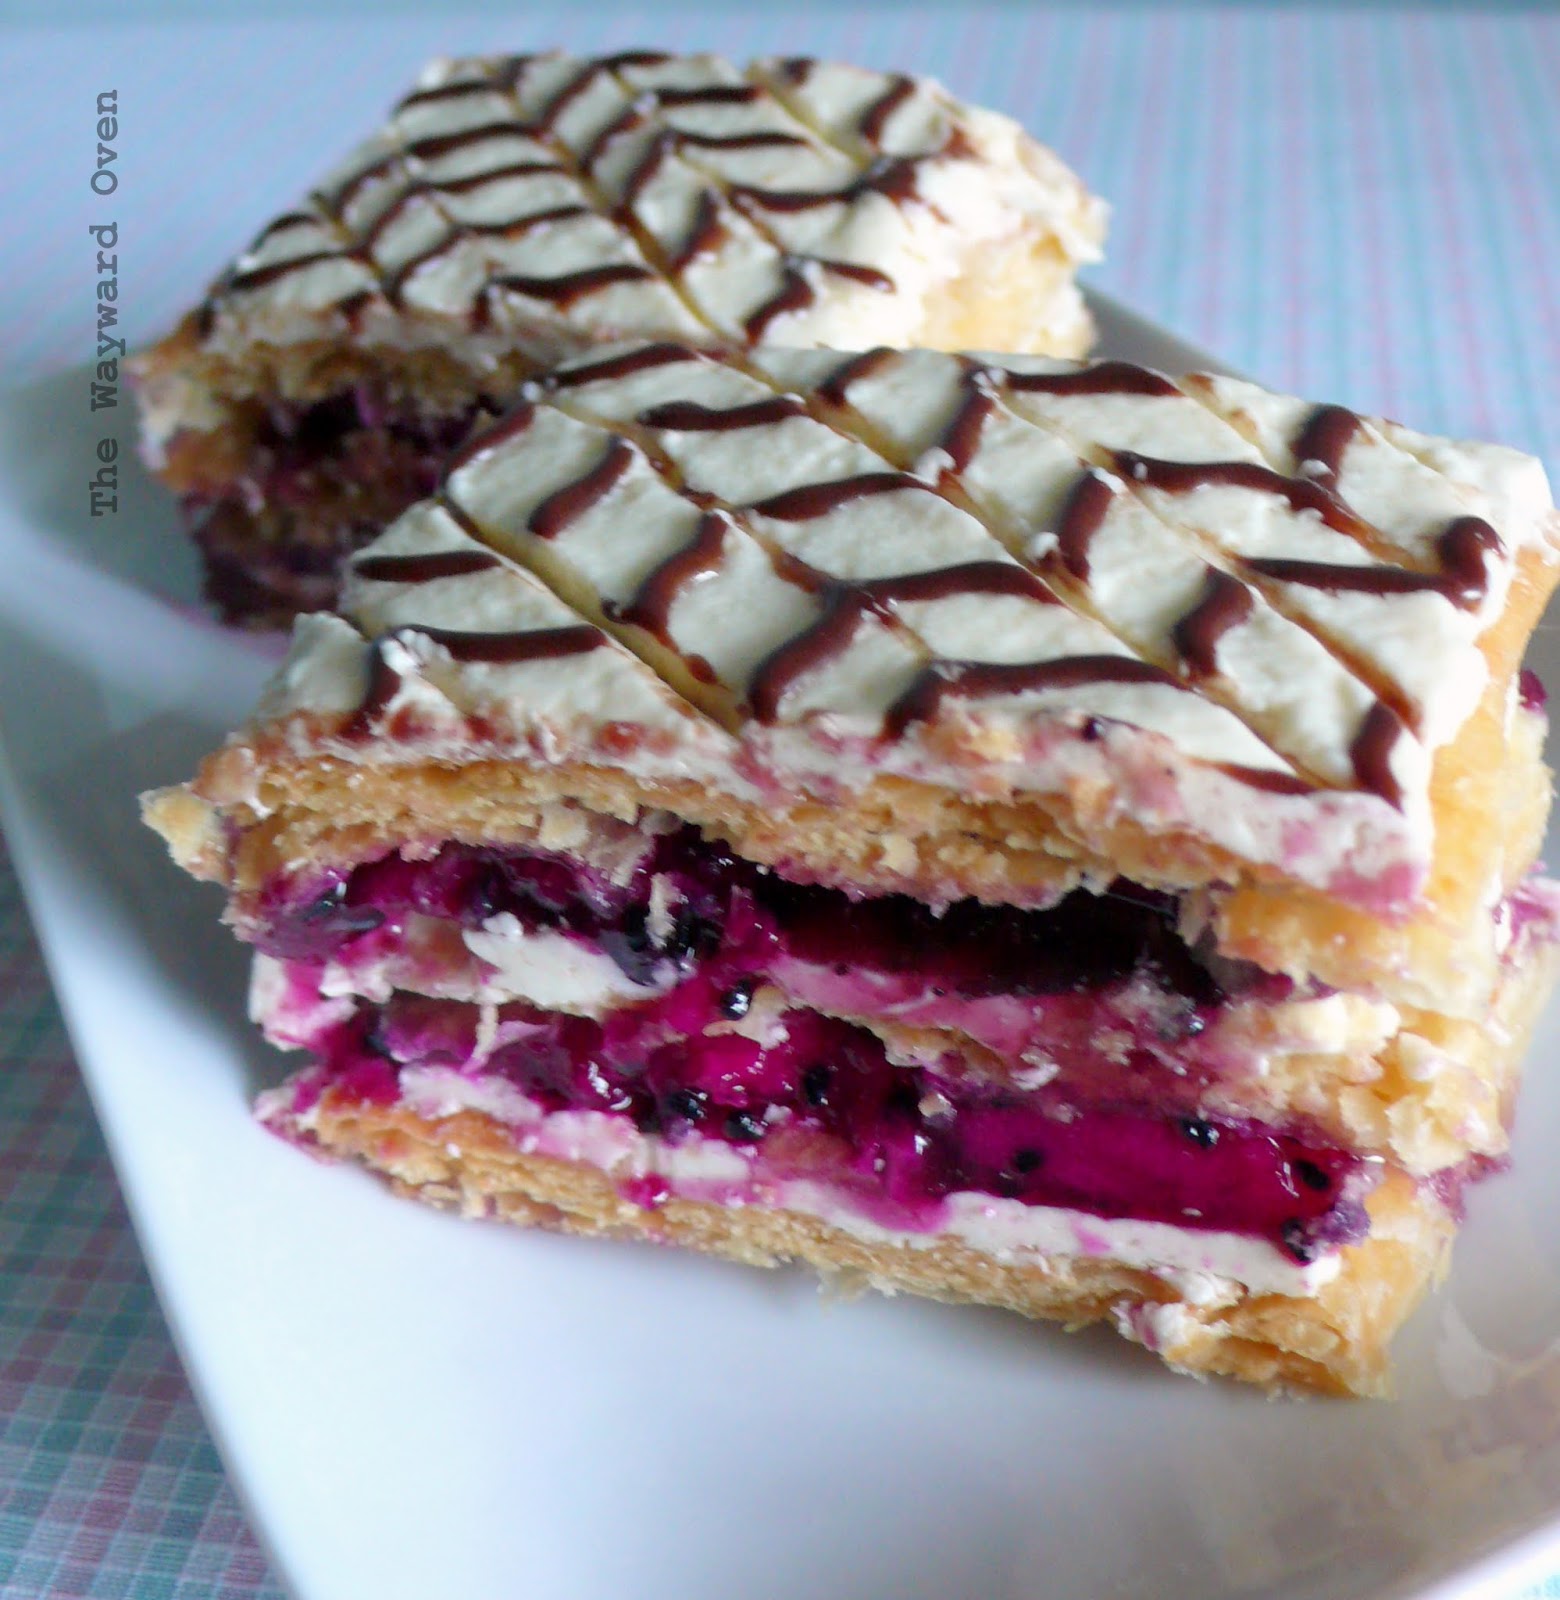
Suz wrote that the traditional mille feuille is filled with a vanilla pastry cream (crème pâtissière). It is also known as a Napoleon (thought to refer to Naples in Italy rather than the diminutive French emperor), a custard slice or a vanilla slice. It’s often topped with royal icing and distinctive chocolate squiggles.
Succulent and sweet red dragon fruit
Well, my strips of pastry were a little burnt and so I thought I would draw attention away from that by building the layers up with slices of fruit. I've read that strawberries are commonly used, but I stayed local and used red dragon fruit. Instead of a custard-based pastry cream, my mille feuille has a filling of whipped cream and jam – it takes less work but is no less delicious, I think. The vanilla icing for the top is also much easier to make and doesn't contain raw egg whites as in a royal icing. The chocolate icing for the feathered effect is a paste of cocoa powder, powdered sugar and water.
French for "thousand sheets", the mille feuille gets its name from the multi-layered puff pastry which expands when cooked. However, the pastry layers of the mille feuille are actually pressed down while baking to prevent this from happening and I've always wondered why. None of my reference books nor online searches has an explanation. I posed this question on the Daring Bakers forum and Heather, Renata and Suz had thought about it too. Renata and Suz suggest it might be for texture since puffed up, "bumpy" pastry isn't very neat or flat. That's certainly plausible.
A thousand visible sheets or not, no one can say this dish wouldn't be the high point of any high tea.
The slicing could be a little less messy :-p
Mille Feuille with Dragon Fruit
Serves 6

325g puff pastry, preferably homemade (here are the recipe and instructions)

Vanilla Icing
125g (1 cup) icing sugar, sifted
¼ tsp vanilla extract

Chocolate Icing
30g (¼ cup) icing sugar, sifted
½ tbsp cocoa powder

Filling
110g raspberry jam
160ml cream, whipped
½ large red dragon fruit

On a lightly floured surface, roll the pastry out to about 30cm x 24cm. Cut the rectangle into three equal pieces (10cm x 24cm).
Place the pastry on a large baking sheet lined with grease-proof paper. Prick the pastry strips all over with a fork. Place another sheet of grease-proof paper over the top and then a heavy baking tray.
Preheat the oven to 200°C. Bake the pastry for about 25 minutes, removing the top layer of grease-proof paper and tray 10 minutes before the end for the tops to brown. Keep an eye on them and lower the temperature if they are browning too much. Cool on a wire rack.
To make Chocolate Icing: Mix the icing sugar and cocoa with ½ tbsp hot water to get a smooth paste like melted chocolate, adding more water if necessary. Spoon into a paper icing bag.
To make Vanilla Icing: In a heatproof bowl, mix the icing sugar and vanilla with 1-1½ tsp hot water. Stand the bowl over a pan of simmering water, stirring until the icing is smooth and glossy. Spread icing on one of the cooled pastry strips. Pipe diagonal lines with Chocolate Icing. Drag a skewer along the icing at intervals in alternate directions to give a feathered effect. Leave to set on a wire rack.
To make the filling: Peel the dragon fruit and cut the half into four wedges. Cut each wedge into thin slices. Spread jam over the two un-iced pastry strips and top with slices of dragon fruit, overlapping them slightly. Cover the fruit with whipped cream. Finally, sandwich the three layers together with the iced strip on top.
Cut into six slices with a serrated knife and serve.

Pignola: Pine nut bread

Tuesday, October 23, 2012

MORNING PICK-ME-UP: PINE NUT AND DATE BUNS 
I don't drink alcohol, but I do use it in cooking and baking. It leaves a hint of flavour but not a very strong boozy content.
So I wasn't worried that I would be tipsy before work when I decided to include rum-soaked dates in some buns I was planning to have for breakfast. These buns are based on the pignola, a bread I first read about in Linda Collister's book Bread: From Ciabatta to Rye. This is how she describes it:
A rich, sweet, light-textured Italian breakfast bread flavoured with oranges. It is made with pine nuts and hazelnuts in Southern Italy and with almonds in Sardinia. The nuts are generally toasted for maximum flavour.
I searched around for more information, but even The Oxford Companion to Italian Food only had a reference to the nut (pinoli, pignoli, pinocchi) and to its uses in sweets, sauces, ice creams and tonics ("...good for aches and pains, beneficial to the stupid and paralytic, clearing up ulcers, and coughs..,", according to Mattioli) but nothing about the bread it gives its name to. Online sources have many references to pine nut cookies, and strangely, all the bread recipes that appear seem to be sourced from Linda Collister or adapted from her recipe.
There is no sugar in this recipe, except for the liberal dusting of icing sugar on the buns after they bake, so any sweetness comes from the dried fruit and orange juice (if using). Since I use rum, my buns aren't all that sweet and since they already have quite a bit of butter in them, I spread on jam. But I like them "bare" as well.
The texture of this bun is a cross between bread and a scone. I don't know if that is how it should be, but I like the contrast of medium soft crumb and creamy pine nuts. I think the dates had been over-macerated (I forgot about them and left them soaking in rum for four days!) and got mashed into the dough during the kneading.
Since these buns are Italian-inspired, I think another way to use them is in an ice cream sandwich, which, if I'm not mistaken, is a common snack in the southern part of Italy where their wonderful gelato is scooped into a sweet bun, like brioche. The nuts and fruit in pignola would complement the ice cream nicely. However, a whole bun may be too big for the snack so I would probably just use half.

This is submitted to YeastSpotting.
Dust liberally with icing sugar
Pine Nut & Rum-soaked Date Breakfast Bread
Based on the Pignola recipe in Bread: From Ciabatta to Rye. Makes 8 large buns

100g dried dates, quartered
3 tbsp dark rum¹
400g unbleached strong white bread flour
1 tsp sea salt
150g unsalted butter, diced
2¼ tsp (7g) easy-blend dried yeast
2 medium eggs, beaten
2 tbsp tepid water
30g almond halves², lightly toasted in a dry frying pan
100g pine nuts, lightly toasted in a dry frying pan
Icing sugar, for dusting

Put the dates and rum in a bowl and soak overnight.
Next day, mix the flour and salt in a large bowl. Rub the diced butter into the flour with the tips of your fingers until the mixture looks like coarse crumbs. Sprinkle the dried yeast on the mixture and stir in until combined.
Make a well in the centre and add the beaten eggs, rum-soaked date mixture (the dates would have absorbed the rum and there will be very little liquid) and tepid water. Gradually work in the flour to make a very soft, slightly sticky dough (almost like a drop cookie dough). If there are dry crumbs in the bowl, or the dough seems dry and tough, work in a little more tepid water, 1 teaspoon at a time.
Turn the dough out onto a lightly oiled work surface. Knead for 5 minutes. It will be soft and pliable but not as sticky. Return it to the bowl, place bowl in a large plastic bag (or cover with cling film) and let rise in a warm place until doubled in size, about 3 hours, or overnight in the refrigerator.
Turn out the risen dough onto a lightly oiled work surface, sprinkle with the nuts and gently work them in. When they are evenly distributed, divide the dough into 8 equal portions, shape them into balls and pat them into rounds about 7cm wide and 2.5cm thick³. Set well apart on a greased baking sheet. Slip the baking sheet into a large plastic bag, inflate slightly, tie the opening with a rubber band to seal, then let rise in a warm place until doubled in size, about 1 hour. Allow longer if the dough has been refrigerated.
Meanwhile, preheat the oven to 190°C.
Uncover the dough and bake in the preheated oven until the buns are golden brown and sound hollow when tapped underneath, about 15 minutes. Transfer to a wire rack, dust liberally with icing sugar and let cool.
Eat within 4 days or freeze for up to 1 month.
Notes
¹ Instead of rum, use the grated zest and juice of 2 oranges.
² Instead of halved almonds, use whole hazelnuts.
³ The dough can also be shaped as a large loaf. After the nuts have been worked in, shape the dough into a ball and pat into a round 20cm in diameter and 3.5cm thick. Baking time is about 35 minutes.